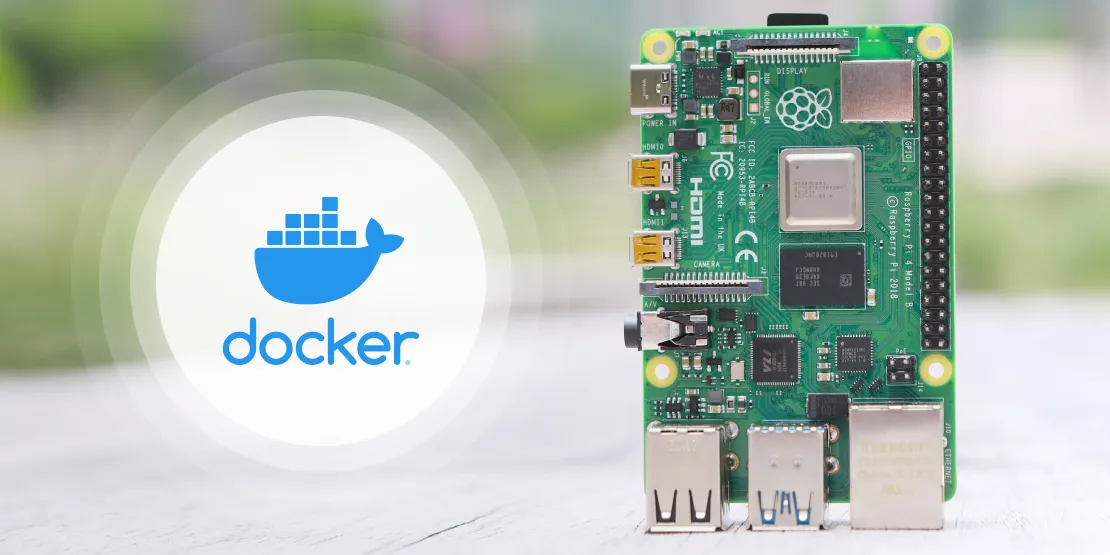
Docker on Raspberry Pi 4 — will it work?

Have you already tried using Raspberry Pi for your project? You should!With its performance, the 4th generation of this small computer can handle 4K video. Moreover, 4GB of RAM is ready to host more interesting and complex solutions than ever.
What can Raspberry Pi handle?
That was the first question that came to my mind after seeing the option of having 4GB RAM. Of course, I know Docker runs on even smaller amounts of RAM, but when we talk about serious complex solutions then “the more, the better” applies. During my experiments, backend application consisting of multiple microservices (mostly Node.js) didn’t encounter any problems with hardware resources and was able to handle file uploads, user management, etc. Not only backend applications, but its performance brings new opportunities to the world of IoT, where AI & ML can take place and create interesting solutions e.g. with object recognition from the camera.
Any drawbacks? A few.
The first one is the CPU architecture, which is ARM. The next one is the 32bit distribution of its official operating system, Raspbian Buster. The combination of these is pretty limiting because of the lack of Docker images. When you look athttps://hub.docker.com/you can see that you can’t use some of the official ones. For example, MongoDB doesn’t provide any because 32bit is a limiting factor. It’s a huge problem for me because I use MongoDB almost in every project. Luckily the community is huge and 3rd party images exist, but they are not maintained and very outdated with questionable security. I haven’t been able to get unofficial images to work.
What operating system should I use?
Official Raspbian Buster distribution is the safest way. You can download it from the official website here.
TIP: comfort Raspberry Pi setup
If you don’t want to complicate things by modifying boot config, writing scripts, etc…, for the initial installation and setup you will need external devices such as a mouse, keyboard (USB/Bluetooth) and monitor with HDMI cable. But you probably don’t want to work like that next time. To avoid this need in the future, I highly recommend connecting to a wireless network first (be sure to check the “remember” option for automatic connection), then enabling SSH in the Pi Configuration menu so you can connect remotely and work from one computer. The on-screen-keyboard can be very helpful too when you are off-site e.g. troubleshooting issues with the monitor connected and not able to use SSH. I’ve used the “matchbox-keyboard” package. The new menu entry will appear under “Accessories”.
How to Docker
Installation is very simple. This one-liner should do all the work:
curl -sSL https://get.docker.com | sh
Then adding permission to run Docker commands for the current user (you are probably using the default one “pi”) can save some typing and struggles with sudo.
sudo usermod -aG docker pi
Reboot and continue with testing of the installation:
docker run hello-world
If everything has gone well, you have just successfully installed Docker and run your first container on Raspberry Pi!
Are you familiar with docker-compose files? You can install additional tools and be more effective (but first some dependencies):
sudo apt-get install libffi-dev libssl-dev
sudo apt-get install -y python python-pip
sudo apt-get remove python-configparser

sudo pip install docker-compose
Conclusion
The complete solution can now be the size of a small book. I have many ideas I’m excited to try next. Taking advantage of the Raspberry Pi’s hardware, e.g. GPIO board, I can connect a camera module, use its power to recognise people from video output, make interesting statistics from it and upload data to the cloud. And it’s just one of the many. Each new version of this small computer opens new possibilities and I’m sure people will transform many ideas into remarkable solutions.


